Skip to main content
Home
PATIENT FORMS
Meet Dr. Safaie
Services
Invisalign
Teeth Whitening
Porcelain Crowns
Root Canals
Dentures
Implants
Braces
Veneers
Gallery
Testimonials
Payment Options
Contact
Book Online
Gallery
Masood Safaie, DDS
Contents
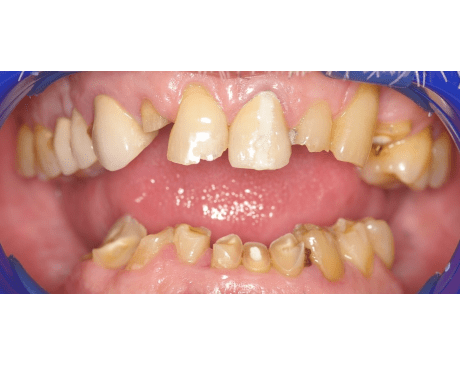
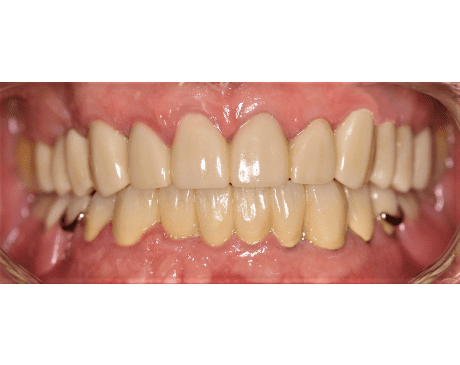
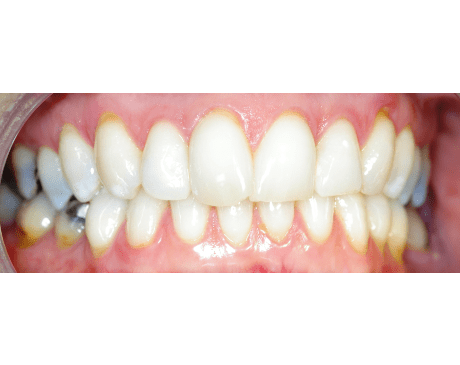
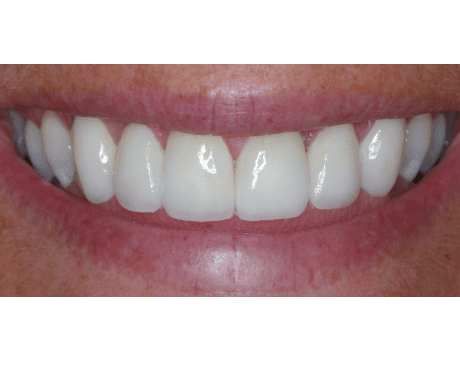
Gallery
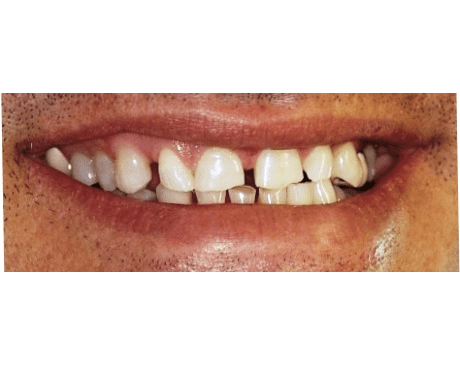
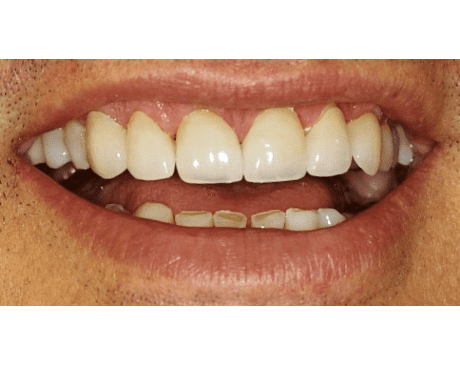
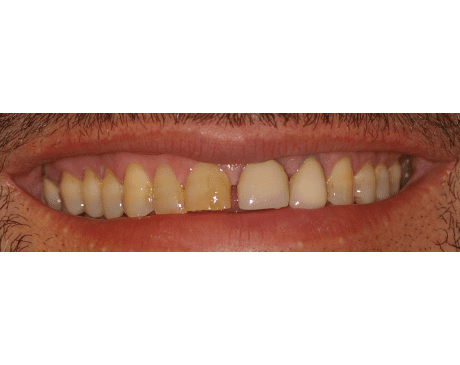
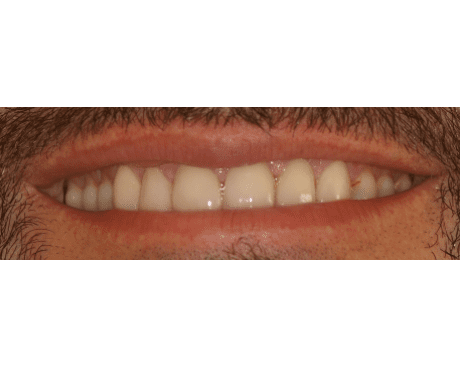
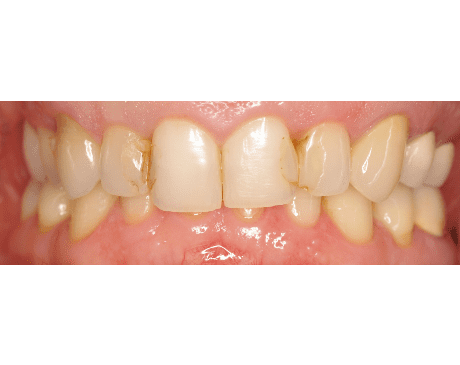
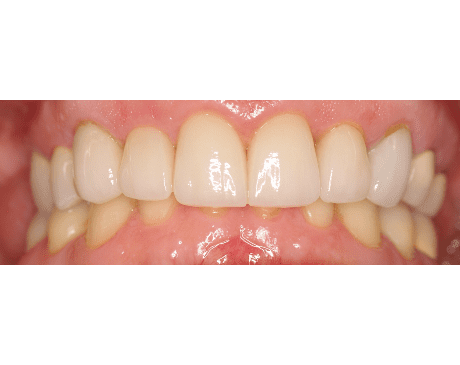
Before & After
What we offer
Services
Veneers
more info
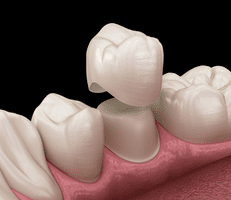
Porcelain Crowns
more info
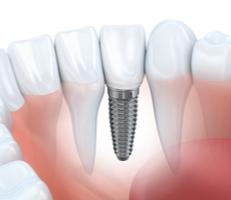
Implants
more info
Invisalign
more info
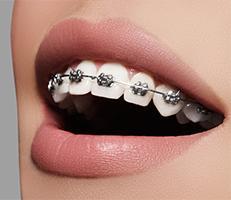
Braces
more info
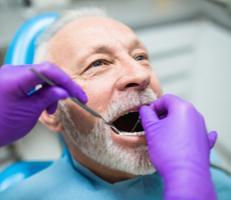
Root Canals
more info
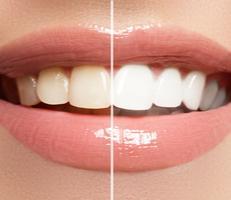
Teeth Whitening
more info
Dentures
more info